Sick of purchasing your own firewood, only to realize it doesn’t burn as nicely as you hoped it would? Sure, you can keep an eye out for pieces that are darker, split at the ends, and relatively lightweight, but unless you’re checking every log with a moisture meter, it can be hard to guarantee you’re really getting the best of the best.
That’s why many opt to season their own firewood!
What is Seasoned Firewood?
So, what qualifies wood as being seasoned? Seasoned wood will have a moisture content of around 15 – 25%, as opposed to fresh-cut wood that typically has a moisture content of around 40 – 50% – quite a difference!
 Basically, the lower the moisture content, the easier your wood will burn, as flames won’t waste a bunch of energy burning through all that extra water. Burning green or fresh wood also results in cooler gases, more smoke, and more creosote buildup in your flue – all things you want to avoid.
How can you differentiate between seasoned wood and unseasoned wood? First things first, unseasoned wood will look and smell fresher, while seasoned wood will be darker in color and will give off a more musty smell.
Another way to differentiate between the two is by doing a weight test. Because seasoned wood has less water, it won’t weigh as much. In fact, firewood will lose about 2/3rds of its original weight throughout the seasoning process.
Finally, try smacking two pieces of wood together. Seasoned wood makes a more hollow “clunk” sound, while unseasoned wood will offer a dull thud.
The Seasoning Process
Unfortunately, even the best-looking (or sounding or smelling) pieces can trick you, which is why seasoning your own is always the best route to take! There are a few different things to consider when seasoning your own wood – where to store it, how to cut it, and the best way to stack it. Let’s go over each.
Storage Tips
No matter how perfectly you cut and stack your wood pile, it simply won’t dry out as well or as quickly if storage conditions aren’t ideal. Consider the following when mapping out the perfect spot:
- Keep it off the ground. The moisture in dirt and soil will hinder the drying process significantly, so keep your wood stored off of the ground by using pallets, concrete blocks, or even gravel.
- Store the pile away from your house. Wood attracts pests and bugs, so if it’s stacked right up against your house, you may be calling an exterminator before you know it. That said, we get not wanting to trudge across snow drifts to grab wood in the middle of winter. To make things more convenient (and avoid termites and other creepy-crawlies), store about a week’s worth near your home at a time.
- Seek out sunny spots. Is there a spot on your property that gets a lot of sunlight? This is ideal – the more your wood is exposed to those rays, the better!
- During rainy or snowy days, cover your wood pile with a tarp. That said, only cover the first one or two feet. This will keep the wood protected without locking in all that moisture (and thus extending the drying process).
- Do you have access to a shed? This can be an ideal spot for wood storage, just make sure the sides are open, so that wind, heat, and sun rays can access the pile.
Cutting & Splitting Tips
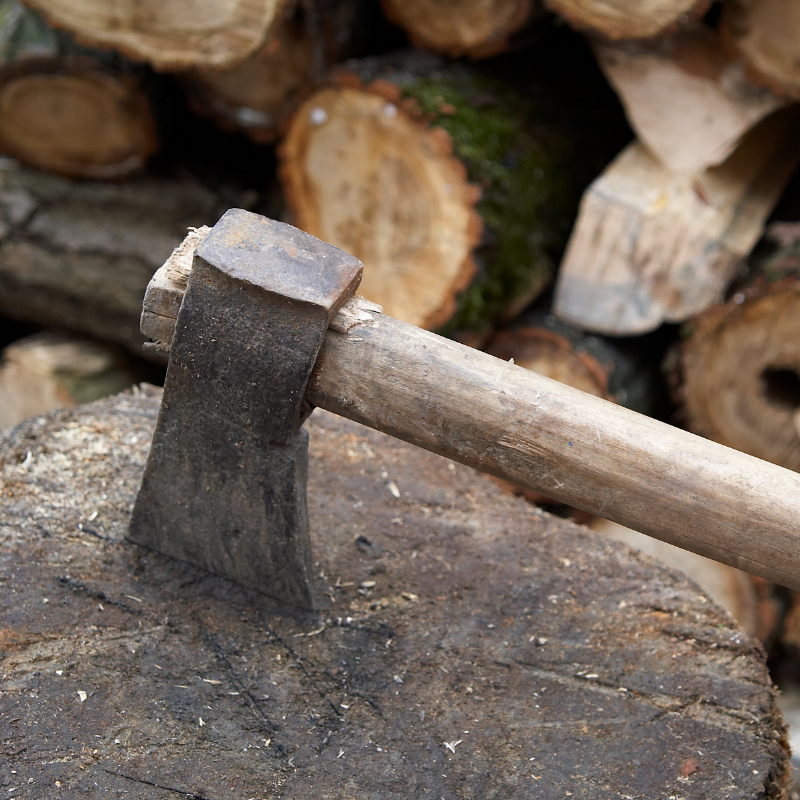 Got the perfect spot scouted out? Great – now it’s time to cut your wood pieces! Cut your pieces to shorter lengths and make sure all pieces are the same length. This ensures they dry out quicker and that they actually fit in your firebox when it comes time to burn.
We also suggest splitting the ends to speed up the drying process. Basically, the more surface area that’s exposed to the elements, the quicker everything will go.
Stacking Tips
Finally, once you’ve got a place to store the pieces and have gotten them cut, it’s time to stack them. This may sound simple enough – just place each log on top of the one before it, right? That said, keeping these few tips in mind will actually offer quite a few benefits:
- Start with the bigger logs on the bottom. This ensures the pile doesn’t eventually topple over – a sturdy base is essential!
- Leave gaps for airflow. You want your logs to fit together nicely, so that the pile is sturdy, but it’s also important to leave some gaps and openings, so that air and wind can get through. Otherwise those pieces that are stuck in the middle won’t be able to dry out as well.
- Line up the ends. Again, it’s all about ensuring you don’t walk out one day to find your entire wood pile toppled over!
- Don’t stack the pile higher than 4 feet. This keeps any kiddos or small pets that are running safer should your stack shift or fall down.
All Done! How Long Can I Store It?
Once your wood pile is stacked and started on the seasoning process, the next question is… how long can the pieces be stored before they stop burning as well? Seasoned wood can be stored for about 4 years before going “bad.” After that, it’s time to use the newer stuff.
Give Us a Call With Questions!
Still experiencing some confusion? We’d be happy to help! Give us a call now, and why not schedule your inspection or summertime repairs while you’re at it? We’d love to be your go-to crew for it all.
Call or reach out online today.